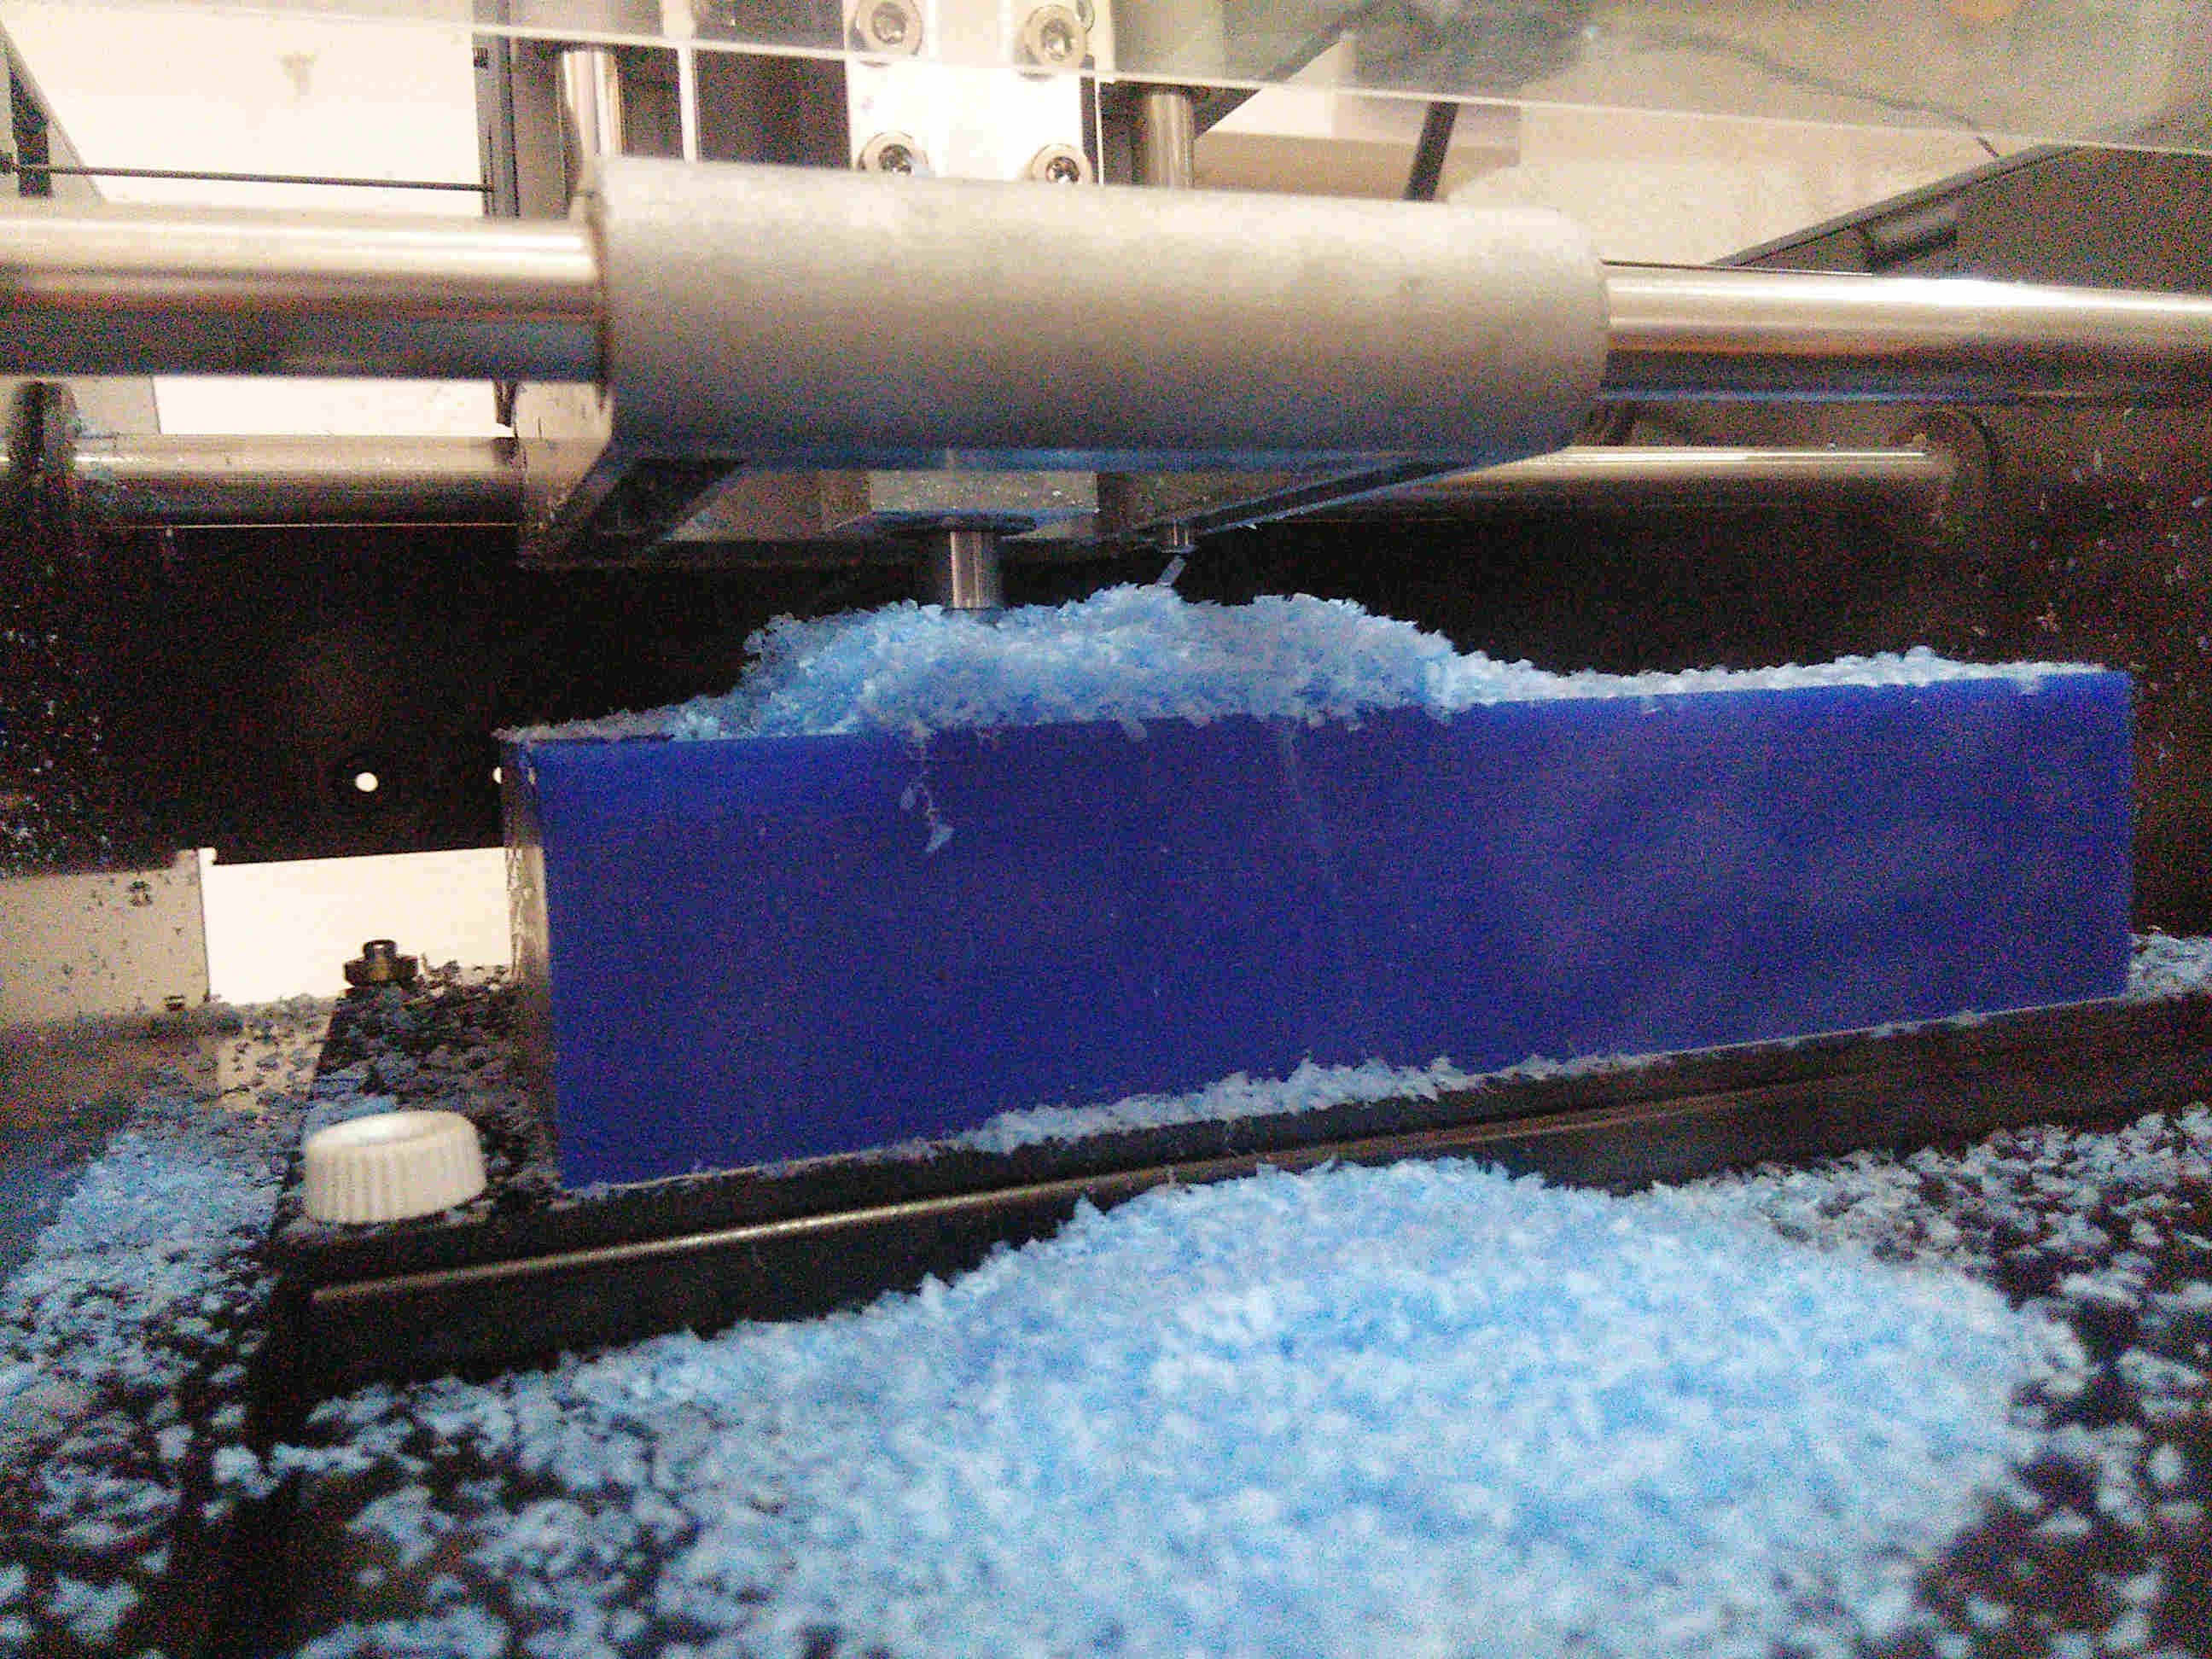
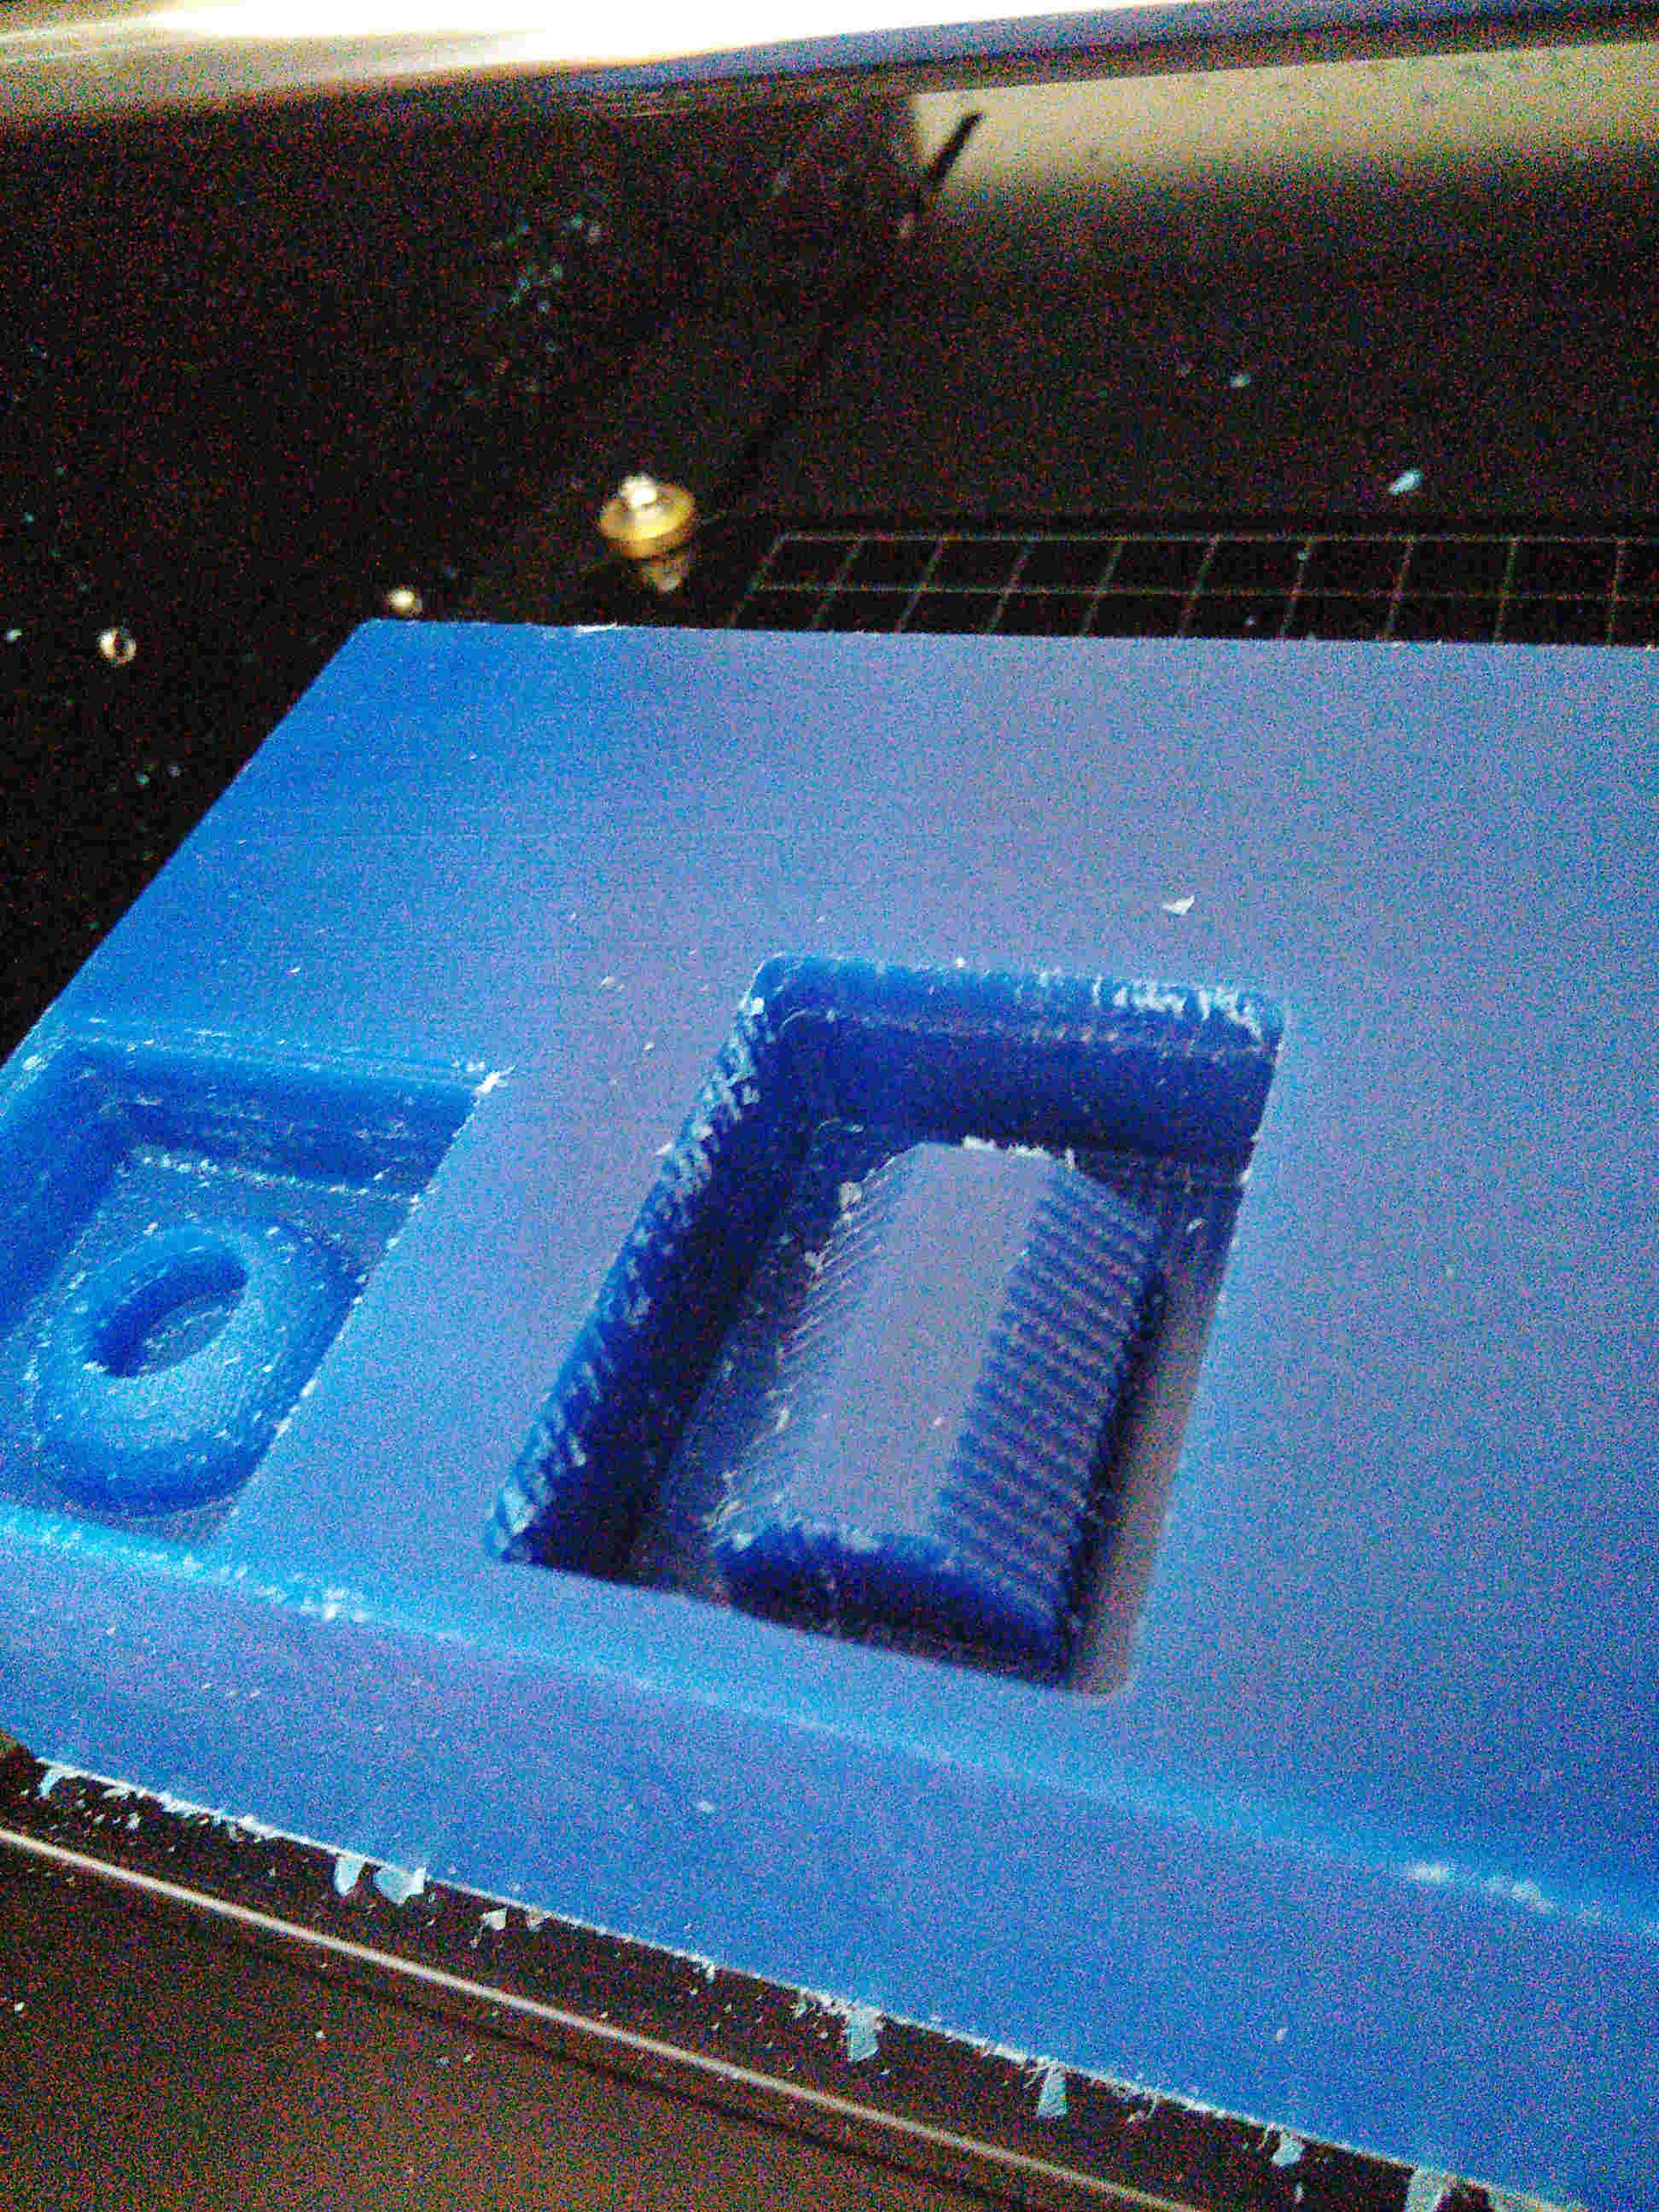
For milling in wax block evry dimension should be reduced by 10mm or a clearence of 5mm should be always given. That is, height, depth, etc. Take care of the maximum depth you can go while designing according to the size of the milling bit. The parameter in FabModules is clearance which take account of the mill length.
We didn't get time to mill as we got stuck in Laser cutting the Modella base. But covered all everything needed to be done in the software side. Important points to be noted are.
- Design from antimony has to be exported as heightmap, which is basically .png file.
- later came to notice that exporting as .png had some bad effects on the cut, so better export as .stl and use that in fabmodules.
- Open fabmodules and give input as .png/.stl and select the Modella as machine.
- Afterwards select the exported file and select initially the cut as rough cut and after finishing the rough cut do the final cut.
- Setting values in fabmodules is as follows
- give the right dia of the bit we are using.
- give the overlap as .5 rather than .25 which loads as default.
- look if their is any disparity in the dimensions of the one you designed and the one shown in fabmodules. If there's any, correct it.
- choose the origin according to the placement of your wax block.
- make .rml and send it to the modella.
- When the milling is over, collect all the milled out wax so that we can use it to make another usable wax block.
 milling wax block
 After milling