Programming in Arduino IDE
After adding the LED and switch yesterday, today we plan to program the board using Arduino IDE. As we have installed Arduino IDE earlier in first week we just have to add our ISP to the software. For that we followed this.
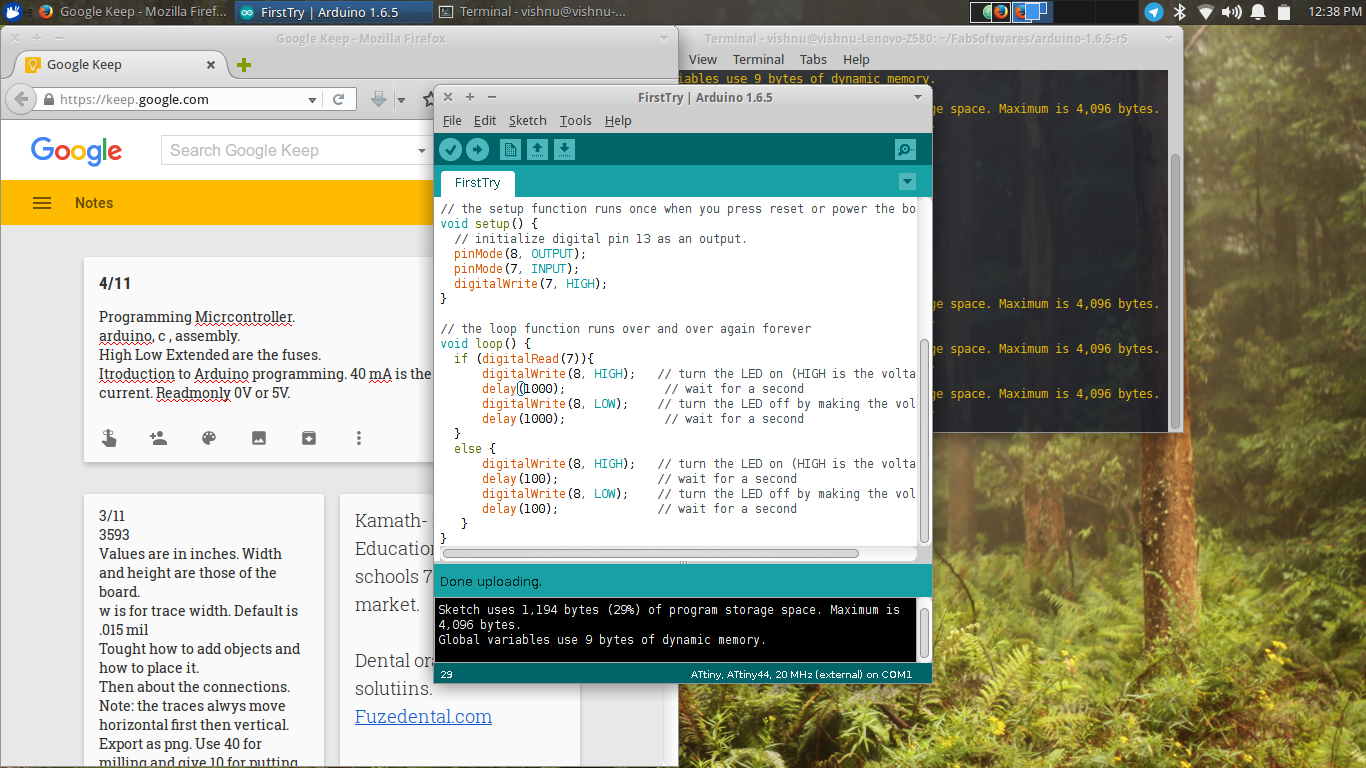
After completing those steps we connected our in house ISP to our computers. In arduino IDE selected board as ATtiny, processor as ATTiny44 as we are using it, and clock as 20Mhz external as we have an external 20 MHz oscillator in the board. Next we burned the bootloader to the Hello FTDI. Then wrote a program to blink the LED when the butto n is pressed. As I have worked with arduino before, it was easily understandable from there.
 Code which I wrote for blinking the LED
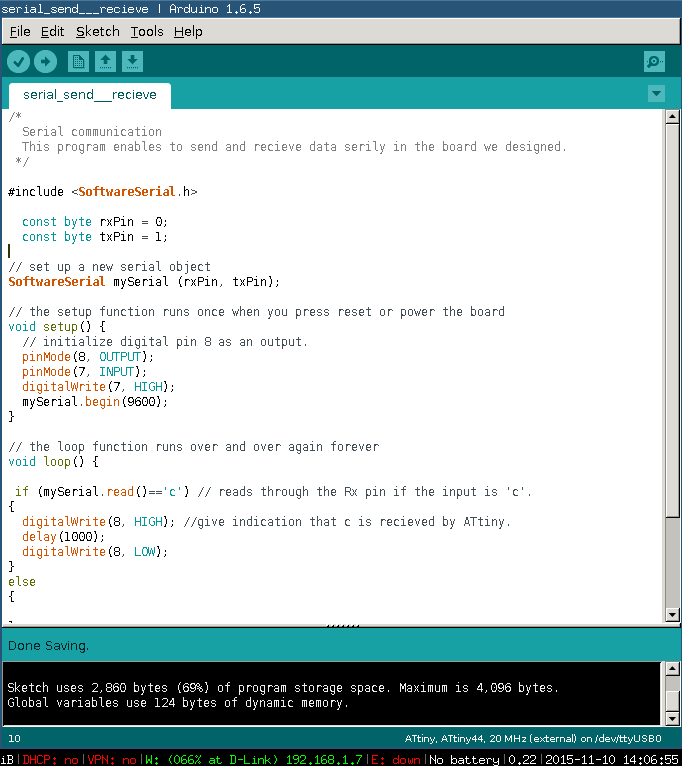
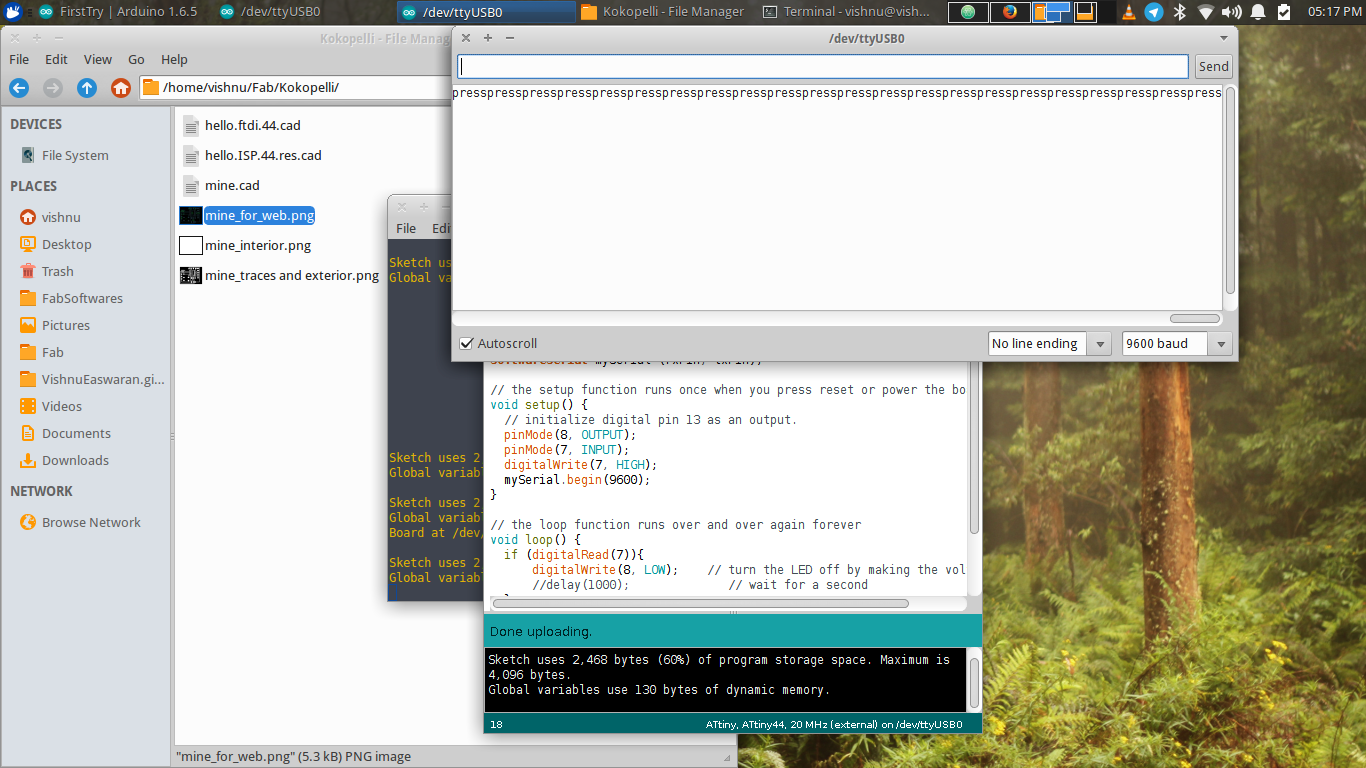
Then we moved on to doing serial communication using the FTDI pins. We connected the board to computer using USB to FTDI cables. Remember to remove the ISP connection when USB is connected and vice versa as two power sources may be harm the board. We wrote program to blink the LED when letter ‘c’ is send from the computer and when the button is pressed on the board MEssage saying “press” will be displayed in the serial monitor.
Note: For burning the programme connection is through ISP while for serial communication USB-FTDI cable is used.
 Program for serial comunication
 Recieving data when switch is pressed
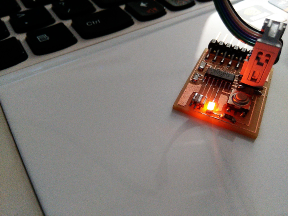
 The Board in action
After that Franc demonstrated how to do more complex stuff like making an application for doing communication using “Processing”. He made a linux application for the same project which we did earlier, which used the serial monitor of Arduino IDE. Franc’s app had a button which when clicked will blink the LED. He asked us to try out the same.